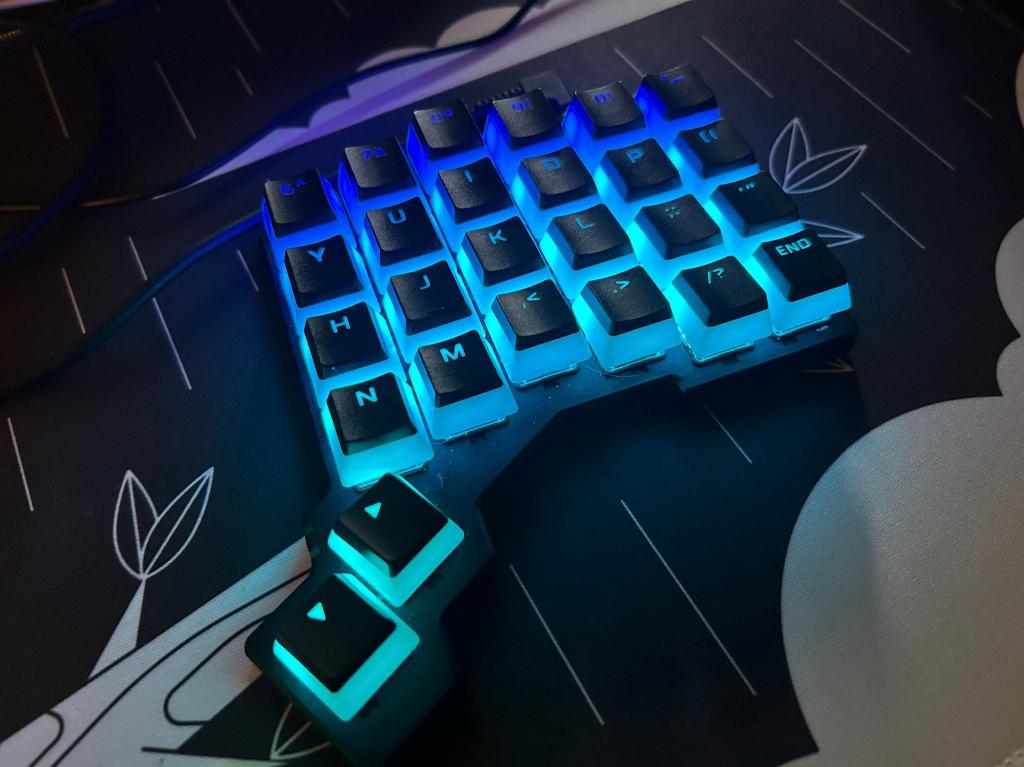
A few months ago, I made the switch to the split ergonomic keyboard, the ZSA Voyager. I can honestly say it lived up to everything ZSA promised. It has significantly reduced my finger and wrist pain, and the form factor is excellent, with build quality that’s hard to beat. With just the right number of keys, my setup feels intuitive and efficient.
That said, I found myself missing the satisfying feel of a heavier mechanical keyboard. The Voyager’s design prioritizes portability, but, to be honest, I’m stationary 99.9% of the time. In this post, I’ll share the customizations I made to achieve a feel that’s closer to my ideal setup.
Switch Converters
Choc switches don’t connect with MX-style keycaps out of the box. Does this mean all those awesome keycaps you’ve collected are now useless? Nope! I found these converters on Etsy, and they’re fantastic. Now my entire keycap collection is back in play!
$3.75 * 6 – Choc switch to MX keycap converter
Switches
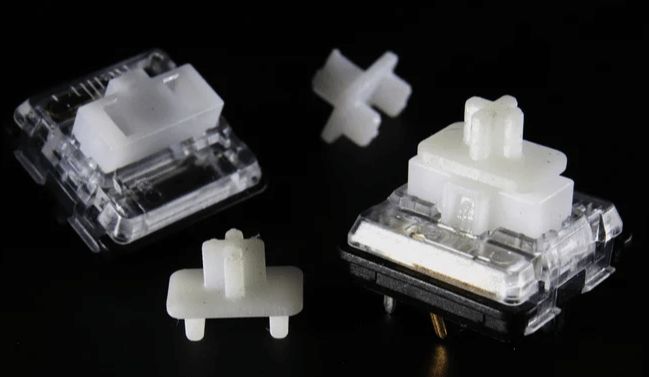
ZSA chose to go with low-profile Choc switches, likely for their smaller form factor. They’re quite a bit thinner than standard MX-style switches, which makes them more compact.
After trying about ten different types, I found I’m not a big fan of these switches. The tactile feel just isn’t there, and while the clicky switches are loud, they don’t feel great. So, I circled back to the Red Pro Linear switches that came with my order. At the very least, the low actuation pressure means my fingers don’t get tired as the day goes on.
I decided to lube them. I’m not sure if they’re pre-lubed, but adding lubricant to each switch improved the feel noticeably. This really goes for any switch: lubing them always enhances the smoothness.
Keycaps
Low-profile switches support low-profile keycaps. The keycaps that come with the Voyager are nice, and I get what they were going for with the design. This part is totally personal preference, but to me, the setup feels too light—almost “laptoppy.”
Personally, I prefer beefier keycaps that better suit my larger fingers and bring that satisfying “thocc” sound. There are so many MX keycap options these days, and you can really personalize your keyboard with them.
I decided to put on my HyperX Pudding keycaps. I haven’t used them in a while, but they look amazing with LED keyboards. I also think their weight complements the Red Pro Linear switches. This was the big change I was looking for! The keyboard isn’t loud, but there’s a very satisfying “bottoming out” feel when typing.
$27.95 – HyperX Pudding Keycaps
Tenting
I’ll admit, the tenting on the Voyager is optimized for portability too. It comes with these well-made feet that attach with magnets to the bottom of the keyboard, but they only offer a few degrees of tilt.
For me, laying it flat often feels just as good. I ended up using these small laptop stands, which are linked below. You’ll need to experiment with positioning to avoid any wobbling, but once set up, they’re quite sturdy. The adhesive is strong, and they’re solid metal.
If you want a more permanent tenting solution, there are probably better options out there. This is a quick and affordable way to see if a steeper angle works for you. Personally, flat on my desk works best for my setup.
$14.99 * 2 – Laptop Stand for Desk
Desk Mat

This one isn’t specific to the keyboard, but it’s worth mentioning: invest in a good desk mat for your keyboard and mouse. It’s a small but impactful upgrade to your desk setup. I recently got this awesome owl-themed mat!
$17.99 – Auhoahsil Desk Mat, Ultra Large Mouse Pad, XXL Gaming Mousepad
Conslusion
I really love my ZSA Voyager. It has lived up to everything I hoped for, and these customizations took it to the next level. If you enjoy tweaking your keyboard setup as much as I do, I hope this guide inspires you to try some of these mods. Happy typing!

Leave a comment